Orange Blossom, Tahini & Honey Granola

I read somewhere that Matt Damon went on a 90-day diet before his Odyssey movie, and apparently lost enough weight to look slimmer than he has since college. Lucky!!

I have absolutely no idea whether that story was even meant to be inspiring, but somehow, without any further details, it motivated me to start my own 90-day no-gluten, no-sugar challenge.

Not for any particular reason, really. Just a little personal challenge, a change from my usual routine (outside of Lent!), and mostly to see how I would feel.

The short answer? I feel great.

But what I’ve enjoyed even more is how my eating habits have naturally become much healthier. I’m eating more protein, more nuts, more seeds, more fruit… and I’ve been having so much fun trying new recipes and putting my own spin on some of my old favourites, like my homemade granola.

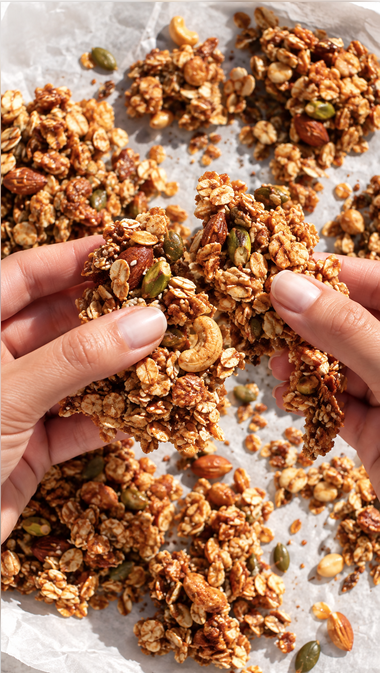
I’ve made quite a few granola recipes over the years, but this one really caught my attention because of its beautiful Mediterranean flavours such as tahini, honey, olive oil, pine nuts and pistachios. I started playing around with the quantities and adding a few of my own touches until I found a combination I absolutely loved. The result is crunchy, nutty, lightly sweet, and beautifully fragrant with orange blossom and tahini.

What I especially love is that it isn’t overly sweet. I prefer my granola that way, but if you like yours sweeter, simply add a little more honey. You can also replace the honey with molasses, or add cranberries or other dried fruits to the jar after baking for an extra touch of sweetness.

Along the way, I also discovered a little granola secret: egg whites help everything bind together, giving you those beautiful big clusters instead of lots of tiny pieces.

And after a few trials, I found that baking it at 160°C gives me the best result and helps prevent the bottom from getting too brown. Ideally, spread the granola in an even layer on parchment paper rather than directly on the baking sheet.

For a gluten-free version, just make sure you use certified gluten-free oats.

And you know me: if I post a recipe on my blog, it means I’m really, really happy with it and excited to share it with you. ❤️

So here it is.

Orange Blossom, Tahini & Honey Granola

Yield: approximately 8–10 cups
Texture: deeply crisp, golden and crunchy with large clusters

Ingredients

Dry ingredients

  • 4 cups rolled oats
  • 1½ cups mixed nuts, roughly chopped (I used pistachios, cashew nuts, almonds, pine nuts)
  • ½ cup pumpkin seeds
  • ¼ cup sesame seeds
  • 1 tablespoon chia seeds
  • 1 tablespoon flax seeds
  • 3 tsp ground cinnamon
  • 1 tsp fine sea salt

Wet ingredients

  • ⅓ cup honey
  • ¼ cup extra-virgin olive oil
  • ¼ cup tahini
  • Zest of 1 orange
  • 2 tbsp orange blossom water
  • 1 tbsp finely grated orange zest
  • 2 large egg whites, lightly whisked
  • ½ tsp vanilla extract (optional)

1. Prepare the oven

Preheat the oven to 160°C / 320°F

Line a large, rimmed baking sheet with parchment paper.

For especially chunky granola, use a large tray so the mixture can spread into one compact, even layer without becoming too thick.


2. Combine the dry ingredients

In a large bowl, combine:

  • rolled oats
  • chopped nuts
  • pumpkin seeds
  • sesame seeds
  • flax seeds
  • chia seeds
  • cinnamon
  • salt

Mix thoroughly so the cinnamon and salt are evenly distributed.


3. Prepare the wet mixture

In a separate bowl, whisk together:

  • honey
  • olive oil
  • tahini
  • orange blossom water
  • orange zest
  • vanilla, if using

Warm this mixture very gently if the honey or tahini is thick. It should be fluid but not hot.

In another small bowl, lightly whisk the 2 egg whites until they become slightly foamy. They do not need to be whipped into peaks.

Add the egg whites to the honey-tahini mixture and whisk until evenly combined.


4. Combine

Pour the wet mixture over the dry ingredients.

Using a large spatula, fold everything together until every oat, nut and seed is lightly coated.

Don’t overmix or mash the mixture.


5. Form the clusters

Transfer the mixture to the prepared baking sheet.

Spread it into an even layer approximately 1–1.5 cm thick.

Now comes the important part:

Firmly press the granola down with the back of a spatula or the bottom of a flat glass.

You want the mixture compressed into one cohesive sheet. This is what helps create those beautiful clusters.


6. Bake

Bake at 160°C / 320°F for 25–35 minutes.

After approximately 15 minutes, rotate the tray if your oven browns unevenly.

Do not stir the granola.

Continue baking until the surface is deep golden and the edges are noticeably darker and crisp.

If the edges are browning too quickly while the center remains pale, reduce the oven to 150°C / 300°F for the final 5–10 minutes.


7. The most important step: don’t touch it

Remove the tray from the oven.

Do not stir, break or move the granola.

Leave it completely undisturbed on the baking sheet for at least 45–60 minutes, preferably until completely cool.

It will become significantly crispier as it cools.

Once completely cold, break it into large irregular clusters with your hands.


8. Storage

Store in an airtight container at room temperature.

Allow the granola to cool completely before closing the container. Any residual warmth will create condensation and soften the granola.

It should remain crisp for approximately 2 weeks when properly stored.

Chef’s notes

For maximum crunch: Don’t make the layer too thick and don’t stir while baking.

For larger clusters: Press the mixture down firmly before baking and leave it completely untouched while cooling.

For a more delicate crunch: Use slightly smaller clusters and reduce the baking time by a few minutes.

Now go make it — and please send me pictures when you do!

Oven-Baked Sea Bream

Baked Fish

Hey folks, gather ’round for a slice of our neighborhood tales! It’s like just yesterday when my hubby and I reveled in the joys of tucking our little ones into bed, eagerly anticipating our own night out. Fast forward, and here we are, with a teenage daughter and a legally adult second one. Now, they’re the ones ushering us into dreamland before hitting the town.

Our eldest is spreading her wings a bit, navigating the world solo. Meanwhile, the youngest is still under the no-cab-alone rule. So, when she’s out, we’re either stationed at home, ready to pick her up, or hanging with our awesome neighbors who, I must say, are more like family now. Shoutout to Rania and Alain – they’ve been our partners in crime through countless celebrations, from Easter to Christmas to graduation and birthdays. We’ve even lost count of the wine bottles during our weekly dinner gatherings.

Tonight’s rendezvous is set for 8:30, featuring some baked fish and roasted cauliflower. Time to detox from all the cheese and raclette bingeing since Christmas – gotta keep it healthy, you know?

Speaking of fish, my go-to is SEA BREAM. Its mild, white meat is a winner for me. Found in various corners of the globe, it’s perfect for grilling. A decent-sized one, around 400gms, can be thrown on the grill whole – head and all.

My cooking mantra for this beauty? Keep it simple. A sprinkle of salt and pepper, some sliced onions and tomatoes for stuffing, lay it in a baking pan with lemon wedges and aromatic leaves, drizzle some oil, and voila! Pop it in the oven for 45-50 minutes, and you’ve got yourself a tasty treat. Who says healthy can’t be delicious? Cheers to good food and great company!

Ingredients

  • 2kg / 3-4 fresh Sea Bream fish (cleaned, gutted and scaled)
  • Sea Salt and coarse pepper
  • Zest of 1 lemon
  • 1 onion, cut in circles
  • 2 large tomatoes, cut in circles
  • 1 lemon, sliced
  • 3 sprigs of rosemary
  • 10-12 Basil leaves
  • Olive oil, to drizzle
  • 1/2 cup of White Wine
  • Kumquat (Optional)

Directions

  1. Preheat oven to 220°C
  2. Wash fish, pat dry and place in oven dish.
  3. Liberally sprinkle salt and pepper over all parts of the fish and inside the body cavity.
  4. Fill in and surround with zest, onions, tomatoes, lemon slices, rosemary and basil. Drizzle with olive oil.
  5. Pour the wine inside the pan and cook for about 50mn or until fish flakes easily with a fork.

Tartiflette

Tartiflette, is the kind of food that stole my heart right from the get-go. In 2021, Paris, Christmas vibes, freezing temps, and my cozy food radar going bonkers. So, there I am, at the Christmas market in Les Jardins de Tuileries! While my husband and daughter are out there braving the cold, playing without their gloves at the Carnival Balloon Shoot, I’m on a culinary adventure! From one food booth to another, I’m on a mission to try every Alpine dish out there: raclette, fondue, tartiflette, poêlée montagnarde, -you name it.

But let me tell you, the one that stole the show for me was tartiflette. While the fam’s freezing their fingers off, I’m warming up my insides with this magical creation. It’s the kind of recipe with just four ingredients that I adore, especially when I’m not in the mood for a marathon cooking session.

This gem hails from the Savoie department in the French Alps. The name? Well, “tartifle” in Savoyard dialect means “potato”. Picture this: potatoes, cheese, onions, and bacon all coming together in a dance of flavors. The VIP of the dish? Reblochon cheese, but since I couldn’t get my hands on it today, I went for Coulommiers, another soft-ripened French cheese.

This delicious recipe is a perfect winter dinner. So, if you’re on the lookout for a meal that’ll hug your soul, tartiflette’s the answer. Cheers to simple joys and cozy eats!

Ingredients

  • 750g potatoes, peeled and sliced
  • 2 sprigs of thyme (optional)
  • 200g smoked bacon lardons
  • 20g butter
  • 1 large onion, sliced
  • ½ cup white wine (optional)
  • 150ml crème fraîche
  • 240g Reblochon, rind and all, sliced

Preparation

  1. Heat the oven to 180°C. Bring a pan of salted water to a boil, add the potatoes and thyme, and cook for 6 minutes until just tender. Discard the thyme leaves and drain.
  2. Turn a skillet to medium heat and cook the bacon pieces until they reach your desired doneness (5 to 8 minutes). Remove from the skillet and set aside.
  3. In the same pan, melt the butter over medium heat and fry the onion for 5 minutes. Return the bacon to the pan with the wine and cook until the onions are golden.
  4. Lightly butter an oven dish. Cover the base with the potatoes, then spoon over the onion mixture and the crème fraiche. Mix gently and top it with cheese. Bake in the oven for 30 minutes until bubbling and deeply golden. Leave to stand for 5 minutes, then serve.

Chocoflan

Hello, Salut, Marhaba!  So, I’m totally into learning languages and geeking out on the origin of words. Currently, I am fluent in three languages (English, French, Arabic), can engage in conversational Italian, and navigate my way around Thailand, speaking their language, while shopping.

During the Covid lockdown, I crushed all the levels on Duolingo for Spanish, but let’s be real—I still feel hesitant to claim fluency. To achieve that, I believe I need to spend at least three months in a Spanish-speaking country.

Now, check this out: one of the MVPs in my personal dictionary is “NO.” I heard somewhere that in Irish Gaelic, they don’t even have a direct translation for it. What’s up with that? As a no-nonsense kind of person, I’m all about straightforward answers. “YES” means yes, and “NO” means no. No beating around the bush, you know?

But let’s get real about people. Why do they sometimes dance around the truth, leaving you to play detective? Sure, sparing feelings is cool, but there are those everyday situations where you’re just too nice to say NO to pizza when you’re totally gluten-intolerant or nod along to plans at a place your friend picked, and you secretly hate it.

Anyway, I was supposed to be chatting about chocoflan, but man, this whole avoiding a straight-up YES or NO just gets on my nerves.

Okay, back to the good stuff—the chocoflan! This dessert is next-level awesome. It’s fancy, it’s tasty, and guess what? It’s a breeze to make. Pour that flan mix over the cake batter, stick it in the oven, and bam! Like magic, it comes out with chocolate at the bottom and flan chilling on the top. Seriously, the first time I tried it, I felt like I had David Copperfield on speed dial. I never expected it to work so flawlessly on the first try. The sense of pride and accomplishment was overwhelming; I felt like a baking genius. I encourage you to try this recipe, hoping you’ll share in the joy and satisfaction I experienced. 🍰✨

Ingredients

  • 12 cup Bundt cake

For base:

  • Butter, softened or Butter Coating Spray
  • 1/4 cup caramel sauce

For the flan:

  • 354ml can evaporated milk
  • 397ml can condensed milk
  • 120g cream cheese, room temperature
  • 3 eggs
  • 1 tsp vanilla

For the cake:

  • 150g butter, room temperature
  • ¾ cup sugar
  • 2 eggs, room temperature
  • 1 ¾ cups all-purpose flour
  • 1/4 cup cocoa powder
  • 1 tsp baking powder
  • Pinch of Salt
  • 1 cup Greek yogurt (or sour cream)

For garnish:

  • Chocolate sprinkles

Preparation:

  1. Coat a 12-cup Bundt cake with butter or use the butter spray. Then drizzle caramel sauce and place the whole Bundt in a large oven dish or roasting pan that will be used for a water bath (bain-marie) during baking.
  2. For the cake: Beat butter and sugar together until light and fluffy.
  3. Add eggs, vanilla, flour, cocoa, baking powder, and salt.
  4. Pour yogurt gradually while mixing and scraping down the bowl with a spatula as you go.
  5. Pour the batter into the cake pan.
  6. For the flan: In a blender, combine the evaporated milk, condensed milk, cream cheese, eggs, and vanilla. Blend on high for 40 seconds.
  7. Pour the flan mixture evenly over the cake batter.
  8. Add about 1 inch of hot water to the roasting pan and place it gently into the oven.
  9. Bake at 180°C / 350°F for 1 hour, or until a toothpick inserted into the center of the cake comes out clean.
  10. When the cake is done, remove it from the water bath and cool completely to room temperature, about 1 hour.
  11. Chill in the refrigerator and invert the cake onto a large serving dish just before serving. Garnish with chocolate sprinkles and serve!

Carrot Cake

Photography Serge Oryan – IG @sergeoryan_photography

Are friendships like recipes?

Imagine friendship as a thoughtfully crafted recipe. There are moments when I want to sprinkle in extra spices to infuse excitement, and other times, a dash of sugar to sweeten the bond. For depth, a pinch of salt is added, and for nourishment, a touch of aroma is introduced. I’d prepare it on high heat for a profound connection or simmer it slowly for a more leisurely pace. Casual friendship resembles a comforting cup of tea on chilly days, providing warmth and solace, while long-lasting friendships are akin to a glass of wine on challenging days, offering both tranquility and a touch of sparkle.

I am not only blessed with the most amazing family, but I am also surrounded by numerous friends whom I love and trust, whether it’s a day of joy or a day of difficulty. I know you are many, and you know who you are. Let’s continue to enrich our friendship, making it enduring and meaningful.

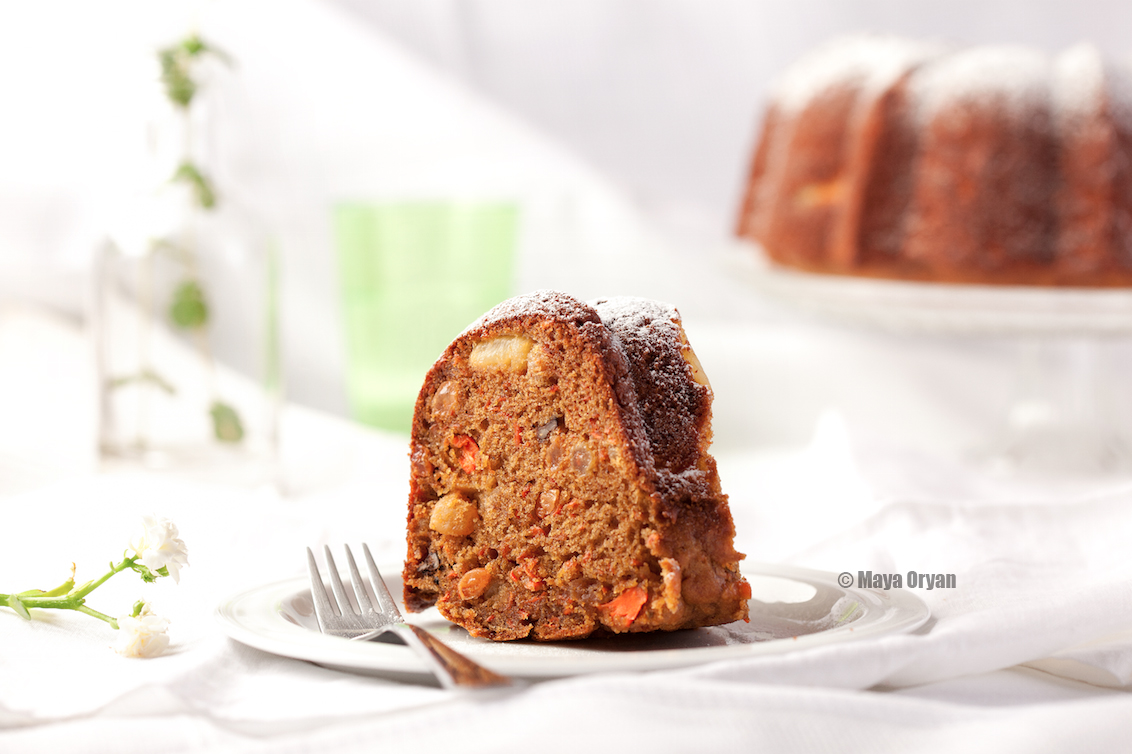
Back to the kitchen where baking lifts my spirits when I’m in a good mood, and even when I’m not, it has a way of brightening my day. Yesterday’s choice landed on carrot cake, a household favorite, possibly inspired by the fall season or the Halloween decorations adorning my house.

There are different variations, but I’ve been loyal to this recipe for years now. I wonder why I never thought of posting it before. It contains shreds of carrots, walnuts and raisins for added texture and flavor. The use of carrots in cake recipes can be traced back to a time when sweeteners like sugar were scarce or expensive. Carrots provided natural sweetness and moisture to cakes. However, the carrot cake we know today, can be quite high in sugar and calories, particularly with the cream cheese frosting.

This cake is appreciated for its sweet, moist, and subtly spiced flavor. Enjoy!

Ingredients

  • 1 ¼ cup brown sugar

  • 1 cup vegetable oil
  • 3 large eggs, at room temperature
  • 1 tsp vanilla extract
  • 2 cups shredded carrots

  • 3/4 cup shredded coconut
  • 2 cups all-purpose flour

  • 1 tsp baking powder

  • 1 tsp baking soda

  • 1 tsp cinnamon
  • ½ tsp salt

  • 1 can / 227g crushed pineapple in juice

  • ¼ cup chopped toasted walnuts

  • ½ cup raisins

Preparation:

  1. Grease and flour a 13x9x2-inch baking pan (or a 7-inch/18cm round pan).
  2. In a large mixing bowl, combine sugar and oil. Beat in eggs and vanilla.
  3. Add shreds of carrots and coconut and beat until combined.
  4. In another bowl, sift flour, baking powder, baking soda, cinnamon, and salt.
  5. Stir into the egg mixture. Stir in pineapple chunks with the juice, chopped walnuts, and raisins.
  6. Spoon the batter into the prepared pan. Bake at 180°C / 350°F for about 45 minutes, or until a toothpick inserted into the center of the bread comes out clean.
  7. Let it cool in the pan on a rack.

If desired, you can spread cream cheese frosting on the top, and this is how you make it:

Ingredients: • 227g / 8 oz. cream cheese, at room temperature • 2 tbsp butter, at room temperature • 1 tsp vanilla extract • 2 cups icing sugar, sifted • A pinch of salt

Preparation: Whisk together cream cheese and butter until smooth. Add sugar, vanilla, and salt, and beat on medium-high speed until well combined.

Peach Frangipane Tart

Photography Serge Oryan

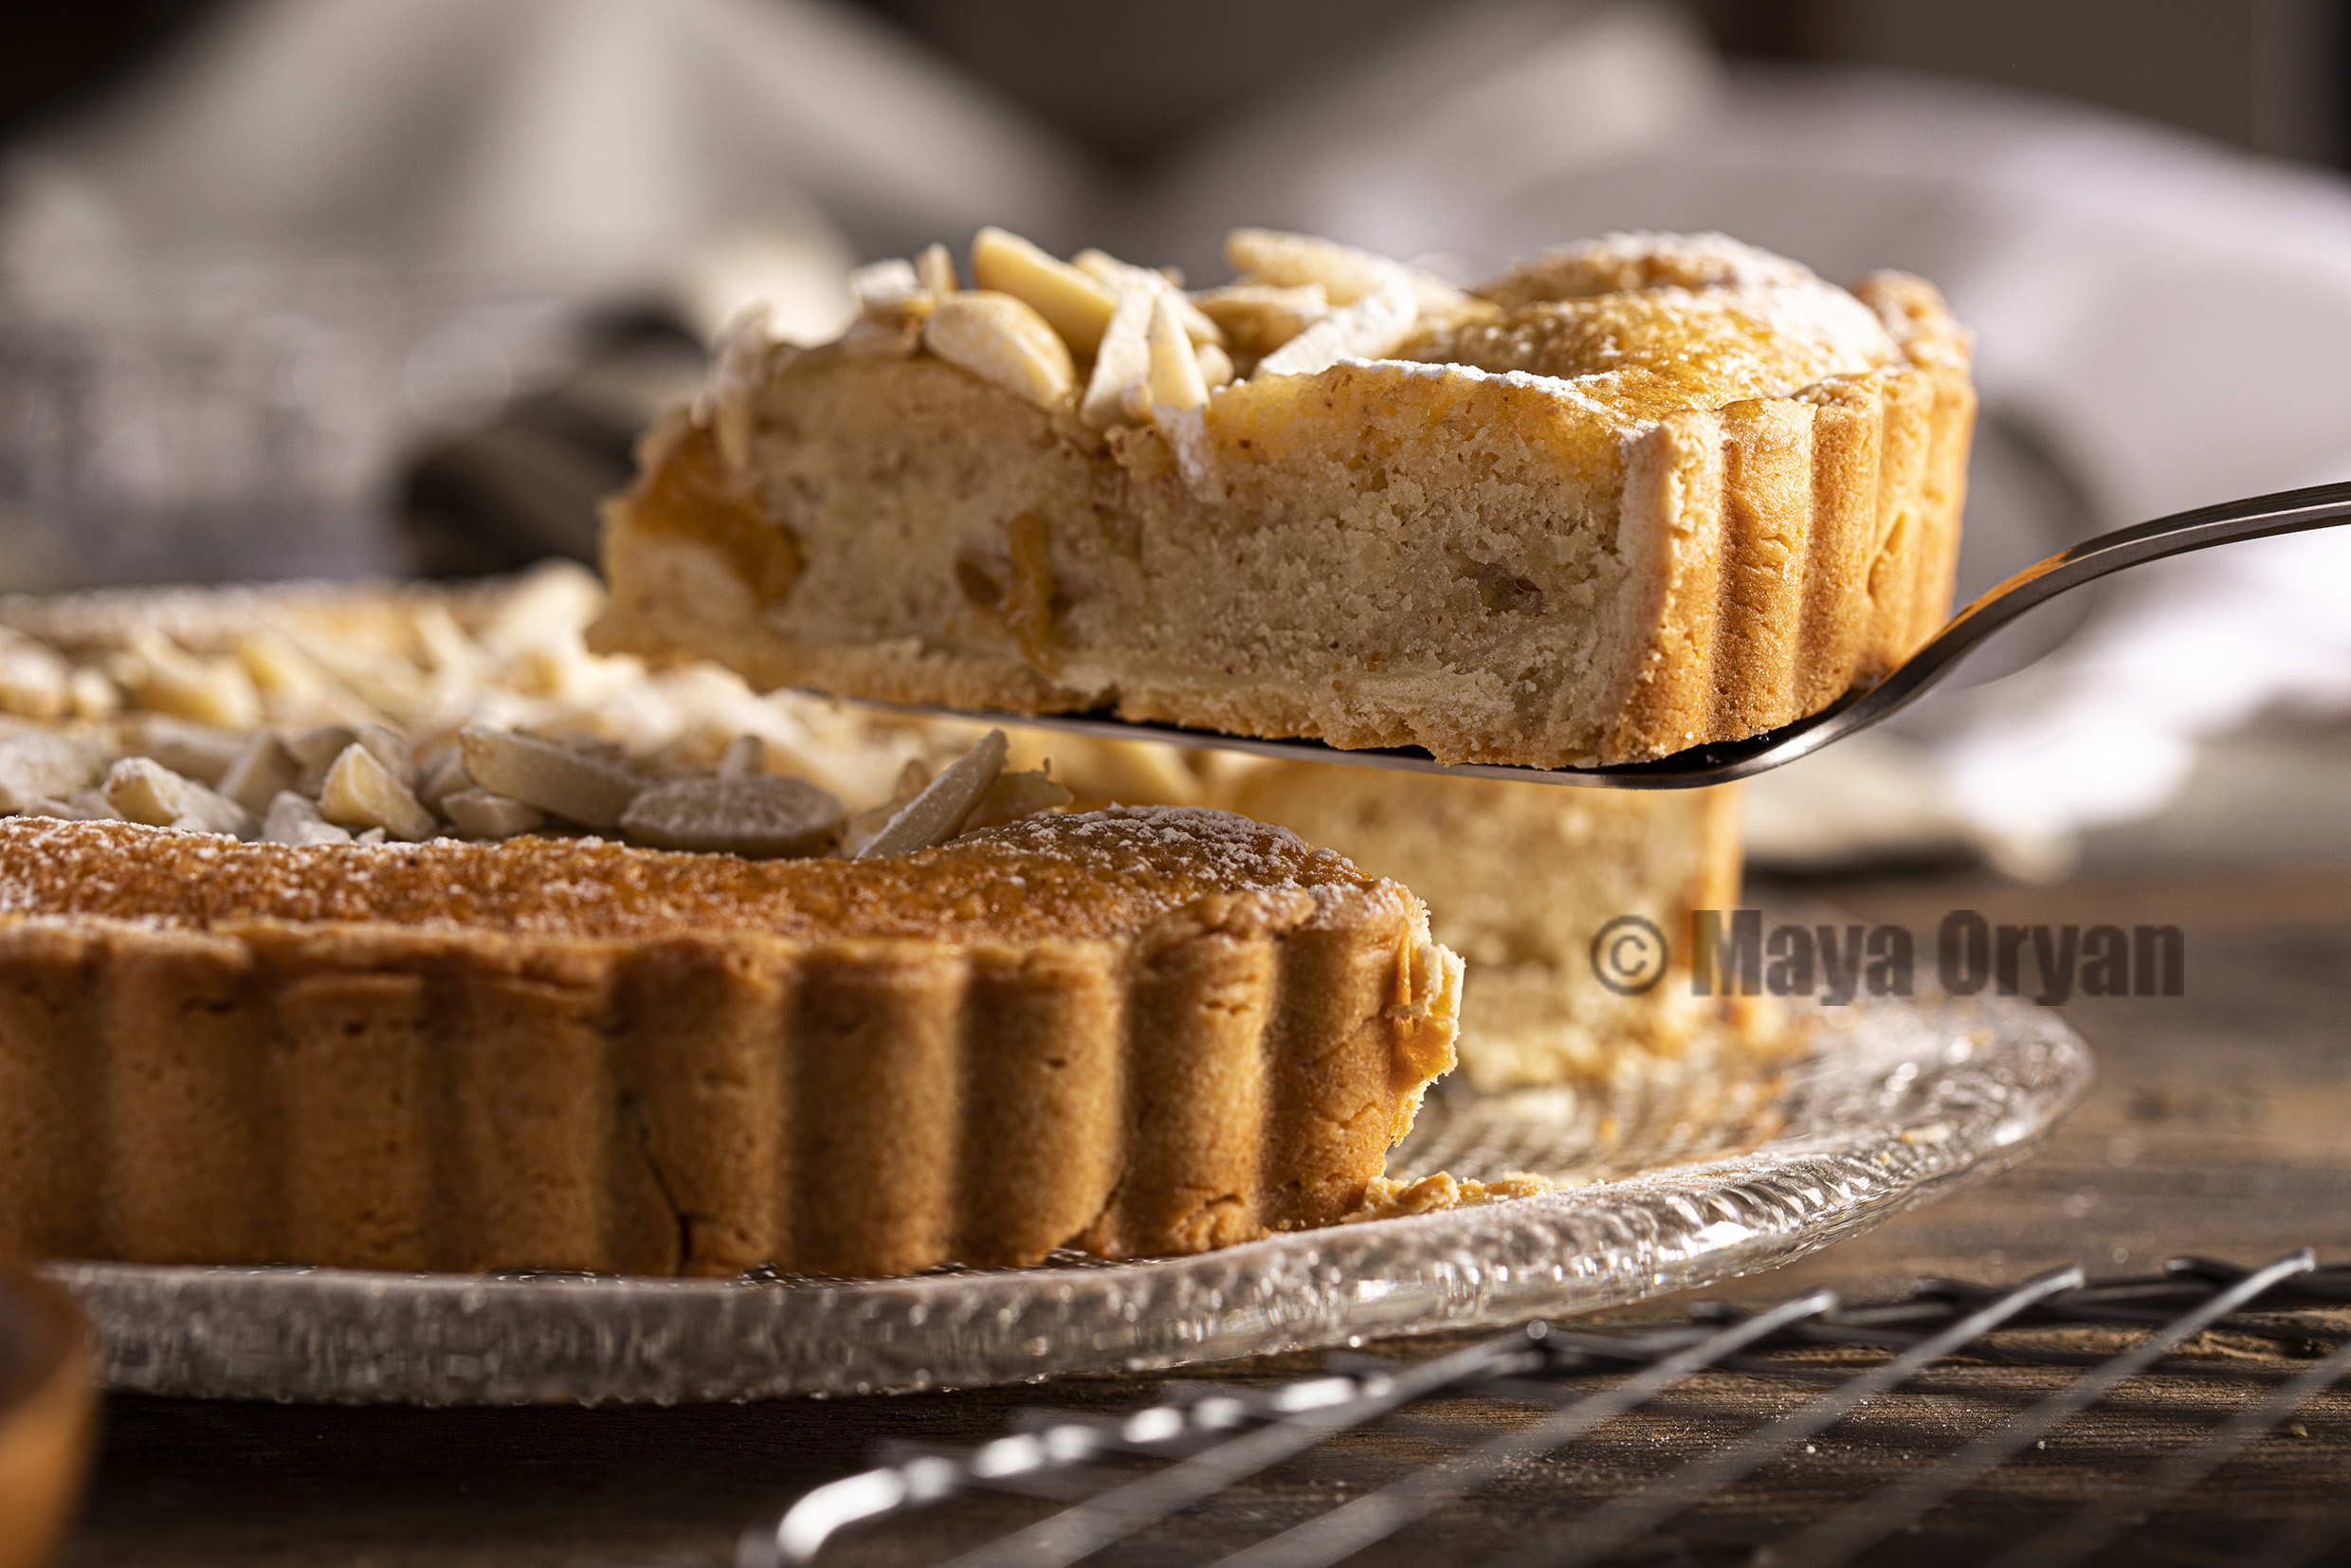
Impress family and friends with this popular French dessert. Combine almonds and peaches to make one of the most iconic summer treats. This tart is perfect when fruits are seasonal and tasty.

INGREDIENTS

For the pastry:

  • 100g / 1 stick butter, cut into cubes
  • 225g plain flour
  • 25g icing sugar, sieved
  • 1 egg, beaten

For the filling:

  • 150g soft butter
  • 150g caster sugar
  • 3 eggs, beaten
  • 150g ground almonds
  • 30g plain flour
  • 1tsp almond extract
  • Canned or Fresh peaches, peeled and sliced.
  • For decoration:
  • Runny honey or peach jam, melted and sieved, for glaze
  • 25g untoasted almonds, peeled, flaked or halved

PREPARATION

In a processor, combine butter cubes, flour and icing sugar and process shortly like few pulses only. Pour in the beaten egg and pulse again until the dough starts to form a ball.

Wrap with cling film and chill. Sometimes the dough is immediately manageable, pending on the temperature of the butter or the room and you can skip the chilling part.

To make the filling in the same processor, cream the butter and sugar together, then gradually add the beaten eggs.

Add the ground almonds, flour and almond extract. Process for a few seconds until well combined. Place the mixture in the fridge, while you prepare the base.

On a lightly floured surface, roll out the pastry dough to fill in a 25cm tart mold. Use the rolling pin to level the edges. Spoon the filling over the base and decorate with halved peaches.

Creamy Chicken Curry

Photography: Serge Oryan

Hello world! On my side of the continent, temperatures have been very low and our constant search has been lately exclusive for comfort food and soups. My curry recipe is very versatile. The version I’m sharing today is the one that my entire family approves, but I remember cooking this recipe sometimes for lent, using vegetable stock and coconut cream and omitting chicken, (which obviously makes it also vegan). I sometimes add, after blending, boiled cauliflower, pineapple pieces or unsalted cashew nuts. I also like sometimes to have it as a soup by adding one extra cup of stock before blending to have a thinner texture. It not only tastes delicious but it is also very aromatic and can be served on special occasions.

Ingredients

  • 1 tablespoon cooking oil
  • 2-3 chicken breasts, cut into pieces
  • Salt and pepper to taste
  • 1 tsp oregano
  • 1 tablespoon olive oil
  • 200g pumpkin, diced (optional)
  • 1 medium onion, diced
  • 1 teaspoon freshly grated ginger
  • 2 teaspoons curry powder
  • 1 teaspoon ground cumin
  • ½ teaspoon ground turmeric
  • 2 cups fresh tomatoes, peeled and diced
  • 1 cup chicken stock
  • 1 banana, ripen and sliced
  • 1 apple, peeled, cored and diced
  • 2 cups cooking cream or coconut cream

Preparation

  1. In a large pot, drizzle oil and place chicken pieces to cook. Season with salt, pepper and oregano. Continue to fry until fully cooked. Remove chicken pieces and set aside.
  2. In same pot, coat again with oil and add pumpkin and onion. Sauté until soft.
  3. Stir in ginger, curry powder, cumin and turmeric and continue to sauté for about 1 minute then add tomatoes.
  4. Stir in the stock and continue to cook for about 5 minutes or until it starts to simmer.
  5. Add banana and apple pieces and cook for another 10 minutes.
  6.  Off heat, blend the mixture with hand stick blender or by transferring it to a food processor. Blend until smooth. Return mixture to the pot with the cooked chicken and add the cream to heat just few minutes, without bringing it to a boil.
  7. Garnish with sesame, seeds or shredded coconut, and serve with Basmati rice.

Baked Mac and Cheese

You’ll love this simple version of this classic recipe. I’ve seen versions of it with ham added, or vegetables, or béchamel sauce, … but NO! More ingredients mean more comments! My kids and their friends “and my friends” love it, just like that; a simple pasta recipe mixed in a creamy cheesy sauce and topped with chunky buttery Panko.

The “yumminess” lies between your choice of the rich cheddar cheese, the Panko coated with butter and the BAKING, to make all flavors blend together in its most delicious way.

Ingredients:

  • 500g macaroni (I used maccheroni)
  • 2 tbsp butter
  • 2 cups cooking cream
  • Salt, to taste
  • 1 cup cheddar cheese, shredded
  • 1 cup Mozzarella, shredded

Topping:

  • ¾ cup Panko (or breadcrumbs)
  • 2 tbsp melted butter

Preparation:

  1. Cook pasta in boiling water according to package directions.
  2. Preheat oven to 200°C
  3. Butter a 9”x13” rectangular baking dish and spread cooked pasta inside.
  4. Sprinkle with salt and drizzle with cooking cream. Mix.
  5. Stir cheeses together and layer over the pasta.
  6. In a small bowl pour the melted butter over the Panko and mix until well coated. Use it to top the macaroni and cheese.
  7. Bake for around 25 minutes. Serve hot.

Happy New Year 2022

Photography Serge Oryan

Happy New Year and best wishes filled with new experiences and joyous cooking.
May your path ahead in 2022 lead to successful and meaningful accomplishments.
From the heart @mayasingredients | Maya Oryan

Home Made Pesto

Photography Serge Oryan

Making your own pesto might sound extravagant, but in fact it’s super easy and will sure make you win your friends impression. It can be prepared ahead of time and stored in the fridge, just make sure that it has a decent layer of olive oil on the surface to make it last for longer period of time. Pesto is not only tasty with spaghetti, but is brilliantly combined to Turkey Panini or grilled Chicken and many other dishes.

I enjoy more making the pesto myself when I know that the basil leaves have been freshly picked from my garden, the pine nuts are sourced from my mother-in-law –they have 20,000sqm of pine nuts trees around their house in Baskinta– the olive oil is from the south of Lebanon –39% of the regional distribution of olive groves in Lebanon comes from the South- The outcome is fabulous!

Original Easy Pesto Sauce

-50g Fresh Basil (or 2 big handfuls of fresh basil), chopped
-1tbsp pine nuts
-6tbsp Extra Virgin Olive Oil
-Sea Salt and Pepper
-25g Parmesan Cheese, freshly grated

Directions: To make the pesto, in a food processor blend basil, pine nuts and Parmesan around 30 seconds or until you have a smooth paste (Though, if you like it coarse, using your food processor click the pulse button very quickly maybe once or twice). Add the olive oil to the mixture and season to taste with salt and pepper. If you don’t have a food processor you can use a mortar and a pestle.

Don’t forget to follow me on instagram @mayasingredients for daily ideas.