Home Made Pesto

Photography Serge Oryan

Making your own pesto might sound extravagant, but in fact it’s super easy and will sure make you win your friends impression. It can be prepared ahead of time and stored in the fridge, just make sure that it has a decent layer of olive oil on the surface to make it last for longer period of time. Pesto is not only tasty with spaghetti, but is brilliantly combined to Turkey Panini or grilled Chicken and many other dishes.

I enjoy more making the pesto myself when I know that the basil leaves have been freshly picked from my garden, the pine nuts are sourced from my mother-in-law –they have 20,000sqm of pine nuts trees around their house in Baskinta– the olive oil is from the south of Lebanon –39% of the regional distribution of olive groves in Lebanon comes from the South- The outcome is fabulous!

Original Easy Pesto Sauce

-50g Fresh Basil (or 2 big handfuls of fresh basil), chopped
-1tbsp pine nuts
-6tbsp Extra Virgin Olive Oil
-Sea Salt and Pepper
-25g Parmesan Cheese, freshly grated

Directions: To make the pesto, in a food processor blend basil, pine nuts and Parmesan around 30 seconds or until you have a smooth paste (Though, if you like it coarse, using your food processor click the pulse button very quickly maybe once or twice). Add the olive oil to the mixture and season to taste with salt and pepper. If you don’t have a food processor you can use a mortar and a pestle.

Don’t forget to follow me on instagram @mayasingredients for daily ideas.

Honey Tahini Cookies -(feat.video tutorial)

IMG_5765

I always wanted to post one of my recipe videos but kept on postponing thinking that it might be boring; until today, I was watching this recipe with my little daughter when she told me “this looks super easy, lets make some straight away!”

Not only I was happy that it took her only once to watch the video and wanting to try the recipe out, but also I was encouraged to upload my video and not to be nervous anymore about it.

If you love Halawa (Halva) you will love these cookies. They are both crisp and chewy and totally easy to make. The combination of Tahini and honey tastes like Halawa and who wants to resist this flavor.

These cookies will be your new favorite!

Honey Tahini Cookies

Makes 30

Ingredients:

  • 1 stick / 100g butter, at room temperature
  • ¾ cup sugar
  • ½ cup tahini
  • 1 tbsp honey
  • 1 tbsp orange blossom water
  • 1 ½ cups all-purpose flour
  • 1 tsp baking soda
  • Pinch of salt

Directions:

  1. In a stand mixer, beat butter and sugar on medium-high until light and fluffy.
  2. Gradually add the tahini, honey and orange blossom water.
  3. In a medium size bowl, whisk flour, baking soda and salt together. Reduce the mixer speed to low and slowly add the flour to tahini mixture, combining well until forming a dough.
  4. Chill in the refrigerator for about an hour.
  5. Preheat oven to 170°C or 350°
  6. Line baking sheets with parchment paper. Using your hands, take a walnut size of dough and shape into balls. Arrange them on the cookie sheet at least 2 inches / 5cm apart. Dip the tines of a fork in flour and gently press a crisscross pattern into each ball. Dip fork in flour after every cookie to avoid sticking.
  7. Bake in the middle rack of the oven for 13-15 minutes or until the cookies begin to show cracks.

Chocolate Stout Cake

Photography Serge Oryan

Photography Serge Oryan www.sergeoryan.com

I don’t remember having a cake with beer inside until few months back when I was in New York City. My friend insisted that I try some, telling me that it doesn’t taste like beer at all. She was right it doesn’t taste the beer, but the stout inside adds a twist that calls you for a second bite and more. It’s moist, unlike you might be thinking it’s not bitter, but does have a deep tang.

I browsed few recipes online, all very similar. Most use sour cream, but I prefer the fresh organic yogurt I get straight from the farm. I used Almaza Lebanese beer, which I love, but you can use Guinness or your favorite dark beer.

I baked this same cake twice this week, and every single bite was a true dose of happiness!

Ingredients:

  • 100g / 1 stick butter, melted
  • 1 ½ cup dark beer
  • ½ cup milk
  • 3 eggs
  • 1 tsp vanilla
  • ½ cup plain Greek yogurt
  • 2 ½ cups all-purpose flour, sifted
  • 2 cups light brown sugar
  • ¾ cup unsweetened cocoa powder, sifted
  • 1 tsp baking soda
  • Pinch of Salt

Directions:

  1. Pre-heat the oven to 185°C. Grease and flour a cake pan.
  2. In a large bowl, using a hand mixer or a stand mixer, beat butter, beer, and milk. Beat in eggs, one at a time. Beat in vanilla. Add yogurt and mix until incorporated.
  3. In a large bowl, combine flour, sugar, cocoa powder, baking soda and salt.
  4. Fold the dry flour mixture, gradually in the wet beer mixture, making sure to scrape down the bowl with a spatula.
  5. Spoon batter into prepared pan. Bake 40-50 minutes, until cake springs back when gently pressed with finger.
  6. Let cool in pan on rack.

Mulberry Jam and Scones

SconesMulberries-MayaOryan

When we were young we used to go camping at an elevation of 1,550 meters (5,090 ft) in Faqra, Lebanon. Two things I still remember from that splendid location; playing around the ruins of the Great Temple of Faqra, where the earliest civilizations worshiped their God. And a bountiful Mulberry tree that got me in trouble with mom every time I lay my hands on (and return home with purple fingers and stained clothes). I was nut for those sweet little berries and it was well worth every garment my mom ditched;-)

As messy as it may get, I still impatiently wait for my share of mulberries that my mom-in-law sends us seasonally. Mulberries have high levels of protein and iron and help loosing weight by blocking sugar. We all don’t mind that last point, no! The second batch I received was almost overripe so I found a good use of them; squeezed some to make syrup “sharab toot” and preserved the rest as jam.

While the mulberries were boiling to make jam, I thought to myself having this under my belt now, it sure tastes better with rich, flaky, soft scones. Sitôt dit sitôt fait, and the scones were baking in the oven.

MulberryJamOnFire

… later when mulberry jam was served with scones, I should probably had someone hiding the plate from me because it was kind of hard to stop eating!

And this how I make it:

Mulberry Jam

Ingredients

  • 1kg fresh ripe mulberries
  • 750g sugar
  • 2 tsp lemon juice

Preparation

  1. Pull all the stems of the fruits and put them into a large saucepan.
  2. Heat it over medium heat and crush the berries to squish out the juice.
  3. Bring it to a boil then add the sugar and lemon juice.
  4. Reduce the heat and stir the mixture until the sugar dissolves.
  5. Bring it back up to the boil for a few minutes and then bottle and seal the jam.

Scones Recipe

Preparation Time: 10 minutes – Cooking Time: 15 minutes 

Ingredients

  • 3 cups / 350g self-raising flour
  • 3 tbsp sugar
  • ¾ cup / 85g butter, diced
  • 1 tsp vanilla
  • 1 egg beaten
  • ¾ cup / 175 ml milk
  • 50g sultanas
  • Self-raising flour for dusting

Preparation

  1. Preheat oven to 220°C. Mix the self-raising flour, sugar and the butter into a large bowl; rub in butter using your fingers until mixture resembles breadcrumbs.
  2. Whisk together the egg, the milk and the vanilla; reserve 2 teaspoons for glazing.
  3. Add the sultanas and the egg mixture to the flour kneading gently to a dough.
  4. Press dough out on a floured surface to 2cm thickness and cut out the scones out with a round 6cm cutter.
  5.  Glaze with the beaten egg and place the scones 2 cm apart on a baking tray into the oven for 10-12mn.
  6. Let it cool on a wire rack while covered with a clean tea towel for a soft scone result.

These are best served slightly warm and homemade mulberry jam.

Orzo Summer Pasta

OrzoSaladbyMayaOryan

Today feels like summer and all I can think off is a refreshing, healthy summer salad. An Orzo Salad wins the listed options hands down. It is simple, light and packed with lemony flavors (and contains pasta… what’s not to love about it?) 😉

I love Orzo (look for it on the pasta aisle), when tossed with Feta cheese, red onions and cucumbers it makes a beautiful hearty dish that keeps well in the fridge. It can be served as a side meal or it can be The Meal. Pull me a bowl out of the fridge on a hot day like that and I’m in heaven!

This whole scenario activated my drool glands; I rushed into the kitchen and like an artist in the making, I mixed cucumbers, red bell pepper, mukimame (shelled edamame), Feta and a touch of thyme leaves for fun.

Looking at my bowl and thinking you gorgeous creature, I’m so ready to dig in and enjoy.

Ingredients:

  • 1 cup uncooked orzo
  • 1 cup mukimame, cooked
  • 1 cup chopped cucumber
  • 1/2 cup crumbled feta cheese
  • 1/4 cup diced red bell pepper
  • 1/4 cup fresh thyme leaves, picked and washed

Dressing:

  • 1/4 cup olive oil
  • 1/4 cup fresh lemon juice
  • 1 tablespoon finely chopped fresh dill (optional)
  • Salt and freshly ground black pepper, to taste

Preparation

1. Cook orzo pasta according to package directions. Rinse with cold water

2. In a bowl, combine orzo, mukimame, cucumbers, feta, bell pepper, and thyme leaves.

3. Whisk together all the dressing ingredients and drizzle over the salad. Stir gently until all ingredients are well coated.

Quinoa and Chickpea Salad

MayaOryan-QuinoaSalad

My first encounter with QUINOA was only few years ago. Before that, I never heard of it.

My Peruvian friend told me that it has been around for centuries, and I thought of myself, what a goose!

When I googled QUINOA, I found out that it is a whole protein and is packed with dietary fiber, iron, magnesium and phosphorus. This grain is gluten-free and has seen an increase in popularity in gluten-free diets. So gifted!

-Quinoa and I can sure be pals.

And all of a sudden, every restaurant I know has a quinoa recipe on his menu, and every Lebanese recipe has been exposed to the Quinoa factor; Tabouleh with quinoa, Falafel Quinoa, Zucchini stuffed with quinoa, Halloumi quinoa salad and many more.

Ever since, I geared up and Quinoa became a staple in my pantry.

One of my favorite Quinoa recipes that I’d like to share today, as it’s also going on my Christmas menu this year, is Quinoa and Chickpea Salad. And here how I make it!

Ingredients:

  • 1 cup quinoa, cooked as per packet directions
  • 400g chickpeas aka garbanzo beans, cooked and peeled (or canned in brine)
  • ½ cup dried cranberries
  • 1 medium red pepper, diced

For the vinaigrette:

  • 4 tbsp Balsamic Vinegar
  • ¼ cup Olive oil
  • 1 tbsp Honey
  • 1tsp Dijon Mustard
  • Salt, to taste

Directions:

Basically, 1 cup of quinoa is cooked in 2 cups of water. Boil until all water is absorbed.

In a salad bowl, mix all 4 ingredients.

Whisk together the sauce’s ingredients until thickened and drizzle over the quinoa-chickpeas mix. Combine well and serve.

Green Power Juice

GreenJuicebyMayaOryan

Might be choking for some people, but I don’t drink coffee. No black coffee, Turkish coffee, Espresso, Cappuccino, NOTHING!

But I do drink a lot of healthy juices. It’s an excellent way to get my daily serving of fruits and vegetables. I almost juice vegetables every day and keep the juice fruits as a treat (because without the fibers fruit juices are high in sugar).

A green juice is part of many detox diet and can cleanse your digestive system. Vegetables are easy to digest. This juice is a valuable factor in helping your body so energetic.

When we eat, our energy is focused on our digestive system to break down the food in our stomach. When we are not digesting our energy is doing other jobs like trying to heal and rejuvenate our body. No one wants an exhausted body all day long. It’s good to give your body a break and feed him light snacks:)

Green juices are really yummy and easy to prepare. I read somewhere Green Juice Recipes for Beginners. Well how difficult it can be to throw few pieces of vegetables in the chute of your juicer!!

You can make any combination you like. Peas, pepper, kale, cabbage, lettuce, carrot, beetroot, celery, fennel, …

All green plants have Vitamins A and C, which are important co-factors for calcium absorption. Vegetables contain many nutrients and among my favorites, are:

Cucumbers: Mildly diuretic. Great source of B vitamins and can lower blood cholesterol.

Spinach: Oxalic acid contents of leaves hinders absorption of iron and calcium. Contains large amounts of antioxidants and beta-carotene. High in folate.

Broccoli: High in fibre, antioxidant vitamins beta-carotene and C, which help against heart disease. Its phytochemicals have important properties, especially against cancer.

Parsley: High source of antioxidants, folic acid, Vitamins A and C, which help control blood-cholesterol, prevents constipation, protects the human body from free radicals mediated injury and from cancers.

Ginger: A well-known anti-nausea remedy; ideal for travel and morning sickness. Also stimulates circulation and aids digestion.

GreenJuiceNotebook-White
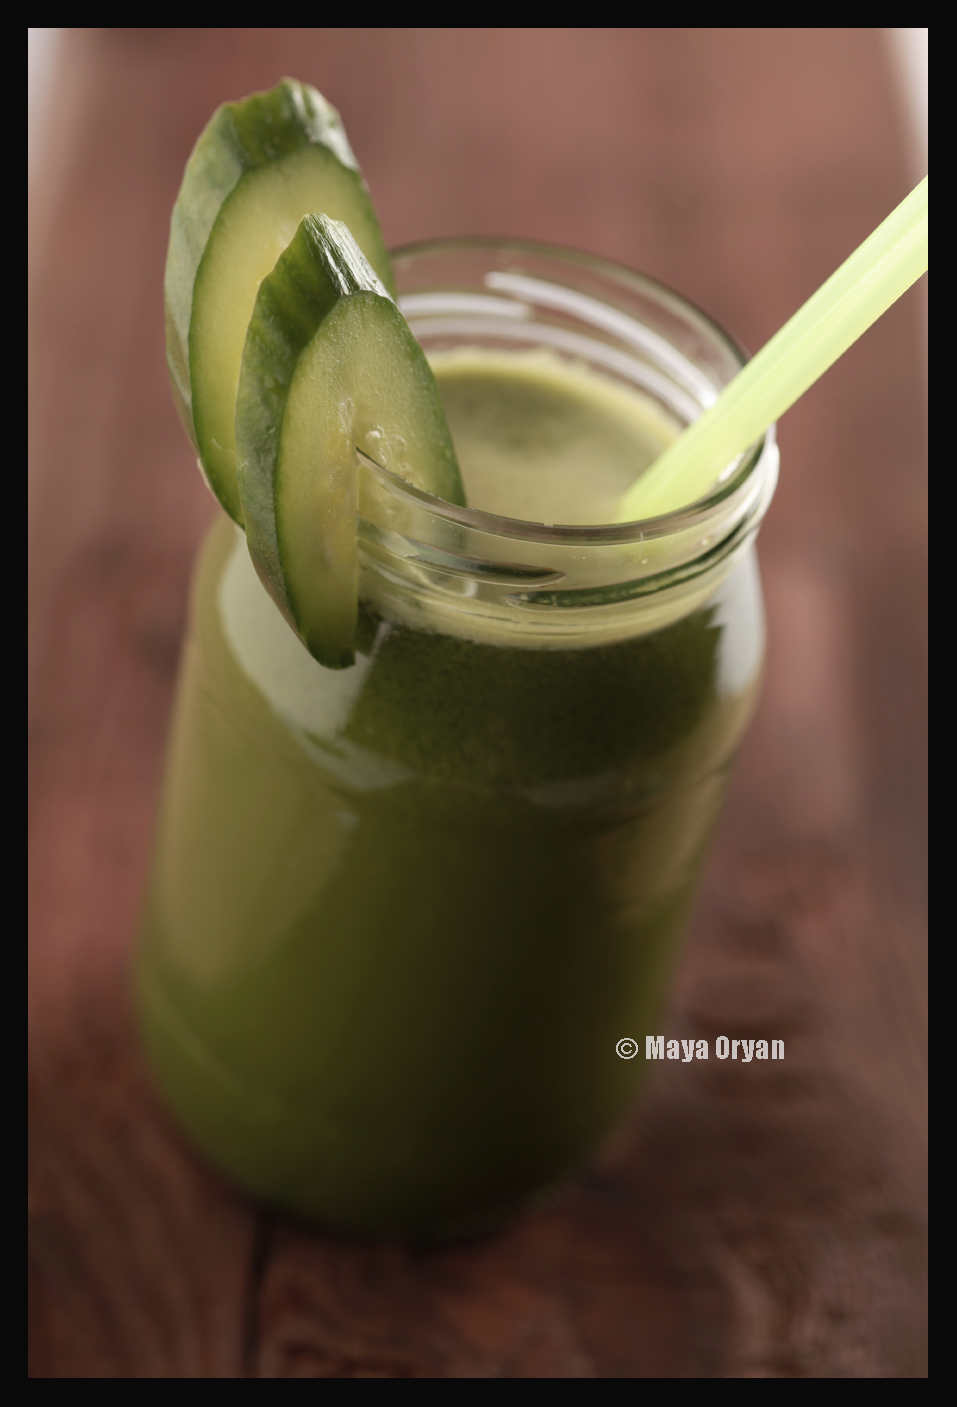
To make my juice sweeter I sometimes add an apple, and here is one of my favorite combinations.

  • 2 Lebanese cucumbers
  • 2 cups of fresh spinach
  • 1 green apple, peeled
  • A handful of parsley (optional)
  • 1 thumb size piece of ginger, peeled
  • ½ lime

Put all ingredients through your juicer. Spice it up with ginger and squeeze lime into juice, if desired. Have straight away and enjoy.

Hummus with Meat

Hummus b-lahme

Hummus b-lahme

I’m traveling again this weekend and was trying all this week to finish everything in my fridge before going.

I have Hummus leftover, it’s a shame to throw it, no? I decided to fry some meat and pine nuts, and this fabulous recipe is the result.

Hummus is a very Lebanese appetizer –we even have a news website called hummus nationknown for being a healthy meal especially for vegetarians around the world. I haven’t met one vegetarian from anywhere in the world who hasn’t heard about Hummus. They might not heard about Lebanon, but they sure know Hummus hehe;-)

I wonder who had this idea to top the Hummus with meat!

Might be a disappointing story for vegetarians, but for meat lovers out there, I promise this combination is a delish! Eat it with pita bread and remember to open your eyes☺

Ingredients

To make the hummus

  • 2 x 410g cans chickpeas (a.k.a Hummus or Garbanzo Beans), drained
  • 5tbsp Tahina (sesame paste)
  • 4tbsp lemon juice
  • 2 garlic cloves, crushed
  • 1tsp salt
  • 4tbsp extra virgin olive oil, plus more to drizzle
  • 1tsp sumac (optional)

To make the topping

  • 1tbsp butter or cooking oil
  • 1 onion, finely chopped
  • 3tbsp pine nuts
  • 200g ground beef or cut in small pieces
  • 1 tsp 7 spices (if not available, use cinnamon and black pepper)
  • Salt, to taste
  • 1 tbsp pomegranate molasses (optional)

Preparation

1.In a food processor, put the drained chickpeas with the rest of the ingredients (Tahina, lemon juice, garlic, salt and olive oil) and blend until you get a smooth paste. This is now Hummus.

2.To make the topping; melt butter in a frying pan and sauté the onion, add the pine nuts and fry for 2mn. Add the meat and cook for 10mn or until they are well done. Sprinkle with black pepper, cinnamon and salt. Add the molasses and stir until well combined.

3. Top the Hummus with meat, drizzle with more olive oil if desired and garnish with parsley. Serve with Lebanese (or pita) bread.


Happy 2nd Blog Anniversary!

Devil'sChocolateCake-MayaOryan

It’s two years now since I posted my first post on this blog!

Two years and some hundreds of followers later! Two years and I’m still enjoying blogging more every day. I have no plans to stop now it’s just the beginning! ♥

Through blogging, I became a much more skilled and knowledgeable cook. I learnt about various food cultures and inspirational eating habits. I’ve come to know, virtually and in reality, many other amazing bloggers. And I have been part of wonderful food events.

Thank you all for your LIKES and SHARES and COMMENTS. And mostly thank you for keeping coming back you’ve been a great support to me.

Can’t wait to eat a piece of the cake, it’s one of my favorite chocolate cakes recipes.

Devil’s Food Cake 

Ingredients

Serves 10 to 12

  • 300g / 3 sticks unsalted butter
  • 2 cups sugar
  • 4 eggs, at room temperature
  • 1tsp vanilla extract
  • 3 cups all-purpose flour
  • 1 ¼ tsp Salt
  • 1tsp Baking Powder
  • 1tsp Baking Soda
  • ¾ cup unsweetened cocoa powder
  • 1 ¼ cup hot water
  • 1 cup buttermilk or sour cream, at room temperature

For the Frosting

  • 200g / 2 sticks unsalted butter, room temperature
  • ½ cup icing sugar
  • ¼ tsp salt
  • 6tbsp unsweetened cocoa powder
  • 6tbsp hot water
  • 300g semisweet chocolate, melted and cooled

Preparation

1. Preheat oven to 180 degrees Celsius / 350 degrees Fahrenheit. Butter and flour two 9-inch round cake pans.

2. Sift together the cake flour, baking powder, baking soda and salt into a medium bowl; set aside. In a small bowl, whisk together cocoa powder and hot water.

3. In a large bowl, using a hand mixer or stand mixer, beat butter and sugar together until light and fluffy, about three minutes.  Beat in eggs, one at a time, then beat in vanilla and cocoa powder mixture, scraping down the bowl with a spatula as you go.  Add one third of the flour mixture to the butter mixture, beat well, then beat in half of the buttermilk. Beat in another third of flour mixture, then second half of buttermilk. End with the last third of the flour mixture, beat until well combined, making sure to scrape down the bowl with a spatula.

4. Divide batter evenly between the cake pans and place them in the preheated oven. Bake for 25-30 minutes. Check early, cake is done when a toothpick inserted in the center comes out clean.

5. Cool the cakes in their pans on a wire rack for 10 minutes. Remove the cakes from the pan, and allow to cool completely before frosting.

Chocolate Frosting

1.Whisk together cocoa powder and hot water until smooth.

2. With an electric mixer, beat butter, sugar and salt on medium-high speed.

3. Reduce heat and slowly add melted chocolate and cocoa powder mixture. Mix until well combined.

Strawberry Jam

MayaOryanStrawberryJam

Who among us has never stopped in front of a street vendor mouth-watering over fresh oranges, roasted chestnuts, fluffy cotton candy, and the list is endless!

I love the way in Lebanon, street food merchants display their goods. When a fruit or a vegetable is in season, here they are, conveniently scattered everywhere, making sure you bump into one of them before you reach home. No matter what direction you’re driving in! And the best part about it, Sweet Heaven, you don’t have to leave your vehicle; Free Car Delivery!

I think best sellers in Lebanon are fresh fava beans (a.k.a. broad beans)!

Fresh peas, Greengage plums (janerik), loquat (akidinye), are quite popular as well, and very dear to every Lebanese’s heart:)

As for me I felt for strawberries yesterday. Small, aromatic and intensely sweet! The smaller ones are more tasteful than the large ones. I let my nose be my guide and look for fragrance rather than color. A sweet aroma is the best indication of good flavor. And at this really affordable price, why not buy a large quantity to make some jam that kids can enjoy and mommy can show off with her super easy recipe without using a pectin;-)

Ingredients

  • 1 kg fresh strawberries, hulled
  • 600g / 2½ cup brown sugar
  • 2 tbsp lemon juice

Preparation

Place the hulled strawberries in a big salad bowl and cover with sugar. Let it rest for 10 hours, preferably in the fridge if the weather is hot.

In a heavy based saucepan transfer the syrup without the strawberries and bring to boil for 10mn on a low flame.

Add the strawberries and the lemon juice and cook for about 25mn or until a small amount of the juice gels on a chilled plate.

Pour carefully in jars and keep refrigerated. Consume within a month.

Yield: 3 to 4 jars, 370g each

Tip: If desired, one extra cup of sugar can be added to increase the quantity and sweeten the flavor.